Best Underwater Camera Settings for Liveaboard Diving
%20-%20Large.jpg&w=1920&q=75)
You've spent thousands on the trip. You've packed the housing, the strobes, the macro lens, the wide-angle, the spare O-rings, the silicone grease. You've sacrificed half your luggage allowance to the camera gods.
And then you get home, load up your images, and they all look like slightly green, slightly blurry disappointments.
Underwater photography is humbling. But with the right settings dialled in before you splash, you can go from "well, you can sort of tell that's a turtle" to images that actually make people want to book a dive trip. Let's get into it.
The Fundamental Problem: Water Hates Your Photos
Before we talk settings, let's talk physics. Water absorbs light aggressively, starting with reds and yellows. By 5 metres, red is basically gone. By 15 metres, everything looks blue-green unless you add your own light.
Water also reduces contrast, adds backscatter (those annoying white dots from particles), and magnifies everything by about 25%. Your camera settings need to fight all of this simultaneously.
Manual Mode: Just Do It
Auto mode underwater is a trap. Your camera's metering system was designed for air, not water. It will overexpose the blue, underexpose your subject, and hunt for focus on particles instead of the reef shark right in front of you.
Shoot manual. Yes, even if manual mode intimidates you on land. Underwater, the conditions change slowly enough that you can set your exposure and forget it for entire dives. Here's your starting framework:
The Universal Starting Point
- Aperture: f/8
- Shutter speed: 1/125s
- ISO: 200-400
- White balance: Custom or manual (we'll get to this)
- Focus: Single-point AF
This gives you a sharp, well-exposed starting point. Adjust from here based on what you're shooting.
Settings by Scenario
For each scenario below, I'm giving you the exact settings to dial in before you descend. These are starting points that work on most mirrorless and compact systems. Shoot a test frame at 5 metres, check your histogram, and adjust from there.
Wide-Angle Reef Scenes (With Strobes)
You want the whole reef, the blue water background, the diver in the distance, and the coral in the foreground. Classic liveaboard shot.
Dial in before you splash:
- Aperture: f/8
- Shutter speed: 1/125s
- ISO: 200
- Strobes: Both on, angled outward at 10 and 2 o'clock, half power, wide beam
- Distance to subject: 30-60cm from the nearest coral
That's not a range. That's your starting exposure. From there, make one adjustment at a time:
- Reef looks too dark? Open to f/6.3 or bump strobes to 3/4 power.
- Blue water background blown out? Speed up to 1/160s.
- Diver in the mid-ground is a silhouette? That's correct -- they should be. The strobes only reach about 1.5 metres.
The key trick: Your shutter speed controls the blue background exposure. Your strobes control the foreground. These are two separate exposures happening simultaneously. Once this clicks in your head, everything changes.
Want a darker, moody blue? Go to 1/200s. Want a bright, Caribbean feel? Drop to 1/80s. Below 1/60s you'll get motion blur unless you're braced against a reef (don't be -- your buoyancy should be better than that).
Shark and Big Animal Encounters
The shark does not care about your settings. The shark will not wait. You get maybe 8 seconds with a passing grey reef shark before it's gone. Be ready before the encounter.
Dial in when the guide signals "shark":
- Aperture: f/5.6
- Shutter speed: 1/250s
- ISO: 640
- Focus: Continuous AF, pre-focused to 2 metres
- Strobes: Off. A shark at 3+ metres is beyond strobe range anyway, and the flash can spook them.
Here's the real trick we tell our guests: pre-focus to 2 metres and leave it. When the shark enters your zone, squeeze the shutter. Don't chase focus -- you'll end up with 40 shots of blue water where a shark used to be. One sharp frame at f/5.6 with the shark filling a third of the frame is worth more than 40 blurry attempts.
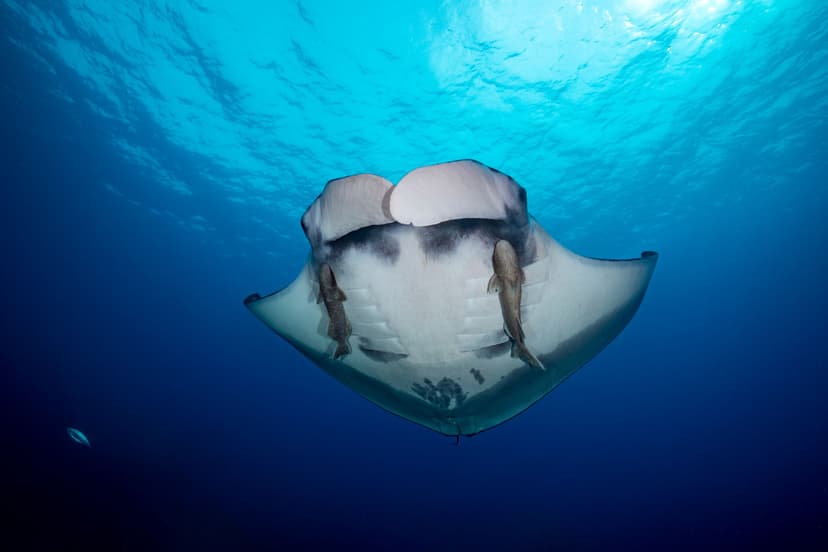
For whale sharks and mantas, you have more time. Open up to f/8, drop ISO to 400, and shoot upward. The belly against Snell's window (the bright circle on the surface above you) is the shot everyone wants.
Macro: Nudibranchs, Pygmy Seahorses, and the Tiny Weird Stuff
Macro is where liveaboard diving gets obsessive. We've watched guests spend an entire 60-minute dive on a single gorgonian fan in Lembeh, hunting a pygmy seahorse the size of a rice grain. It's oddly meditative.
Dial in for a 2cm nudibranch on a coral head:
- Aperture: f/18
- Shutter speed: 1/200s
- ISO: 100
- Strobes: Both on, narrow/focused beam, 1/4 power, positioned 15cm from subject at 45-degree angles
- Focus: Single-point AF locked on the rhinophores (the little horns). If the eye is sharp and the rhinophores are sharp, the rest can be soft and nobody cares.
- Distance: As close as your minimum focus distance allows -- typically 10-15cm with a 60mm macro, 20-25cm with a 105mm
At f/22 you get more depth of field but diffraction starts stealing sharpness. On APS-C sensors, f/18 is the sweet spot. On full frame, you can push to f/20 before the image softens. Beyond that, you're fighting physics.
The 1cm-or-smaller trick: For truly tiny subjects (hairy shrimp, skeleton shrimp), add a +5 or +10 diopter to your macro lens. It gets you closer without losing working distance for your strobes.
Wreck Diving: Moody and Atmospheric
Wrecks are all about mood. You want drama, depth, and those light beams cutting through portholes on the Thistlegorm or the corridors of a Red Sea freighter.
Dial in for a wreck exterior at 20 metres:
- Aperture: f/8
- Shutter speed: 1/125s
- ISO: 200
- Strobes: Half power, angled to light the nearest structure without hitting particles in the water column
Now switch for a wreck interior (engine room, cargo hold):
- Aperture: f/5.6
- Shutter speed: 1/60s
- ISO: 800
- Strobes: One strobe only, at 1/4 power, aimed at whatever you want the viewer to notice. The second strobe off. Two strobes in a silty interior is a backscatter disaster.
- White balance: Shift warmer (6500-7000K) to bring out the golden-brown tones of corroded steel
Warning: Wreck interiors kick up silt with a single misplaced fin kick. Once that happens, your visibility and your photos are done for the next 10 minutes. Perfect buoyancy and frog kicks matter more than any setting here. If you can't hover motionless for 30 seconds, practice that before you bring a camera inside a wreck.
Blue Water / Pelagic Encounters
Open water, big animals, no reef for reference. An oceanic whitetip circling you at a safety stop. A school of hammerheads passing below in the Galapagos.
Dial in for an oceanic whitetip at 5 metres in blue water:
- Aperture: f/8
- Shutter speed: 1/250s
- ISO: 400
- Strobes: Off. The animal is beyond strobe range and you'll just light up particles between you and the shark.
- White balance: 7000-8000K if shooting JPEG, or leave on daylight if shooting RAW (fix in post)
For a whale shark at the surface (snorkel encounter):
- Aperture: f/9
- Shutter speed: 1/320s (you're both moving)
- ISO: 200 (plenty of light near the surface)
- Strobes: Off
- Position yourself: Get ahead of the shark, let it swim toward you. Shoot when it's 1-2 metres away. The shot of the whale shark approaching you with its mouth filling the frame -- that only happens if you're in front, not chasing.
Shoot upward when possible. A hammerhead silhouetted against the surface with sun rays is a portfolio image. A hammerhead side-on against blue nothing is a record shot. Both are fine, but one makes people book trips.
White Balance: The Underrated Game-Changer
With Strobes
Set your white balance to 5000-5500K (daylight) or let your strobes handle it. Strobes produce daylight-balanced light, so this is straightforward.
Without Strobes (Ambient Light Only)
This is where custom white balance earns its keep. Set a manual white balance at depth using a white slate or grey card. The camera compensates for the missing reds, and suddenly your blues look blue instead of teal.
If your camera supports it, adjust the kelvin value manually. Start around 8000-10000K at depth and fine-tune. Shooting RAW? You can fix white balance in post, but getting it close in-camera saves hours of editing.
The Non-Negotiable: Shoot RAW
JPEG throws away data you'll desperately want later. Underwater images almost always need white balance correction, shadow recovery, and colour adjustment in post-processing. RAW gives you the latitude to rescue shots that look terrible on the back of your camera but contain all the information you need.
Yes, the files are bigger. Yes, you need more memory cards. Bring more memory cards. They're cheap. Your trip is not.
Common Mistakes (And How to Fix Them)
- Backscatter: Your strobes are too close to the lens axis. Angle them outward.
- Blue/green colour cast: Shoot RAW, fix in post. Or use a red filter for ambient-light shots.
- Blurry subjects: Shutter speed too slow or missed focus. Bump to 1/200s minimum for moving subjects.
- Dark corners: Strobe positioning. Light should overlap in the centre of your frame.
- Overexposed backgrounds: Shutter speed controls ambient exposure. Speed it up.
Before You Splash: The Pre-Dive Checklist
- Check O-rings and housing seals (always)
- Set your starting exposure for the dive type
- Format your memory card (or make sure you have space)
- Turn strobes on and test-fire
- Set white balance for depth
- Take a test shot in the rinse tank
There's nothing worse than descending to a pristine reef and realising your settings are still from last night's sunset photography.
Heading on a liveaboard and want to make the most of your camera time? Faneca trips are designed with photographers in mind -- dedicated rinse stations, camera tables, and itineraries that revisit the best sites twice.
- Underwater Photography Gear for Liveaboard Trips — Choosing and packing the right camera gear
- Night Diving from a Liveaboard — Special photography techniques for night dives
- The Complete Liveaboard Packing Guide — Protecting your gear while travelling
Related Articles
The Complete Liveaboard Packing Guide
What to bring, what to leave behind, and the gear essentials that experienced liveaboard divers swear by.
First-Time Liveaboard: What to Expect Day by Day
Never done a liveaboard? Here's the inside scoop on the schedule, the meals, the diving, and the delightful chaos.